I have to admit, the life of a medieval woodsman appeals to me. Enjoying a cup of tea brewed fire-side, after a long but rewarding day of building dead hedges, hedge laying or producing various coppice crafts. Then retiring to a cozy caravan parked up beneath the stars. Traveling the countryside and living close to the earth in rhythm with the seasons. It sounds so lovely.
But I digress, it's not the life of a woodsperson that I wanted to discuss today. It's the way that landscapes were designed and adapted in ancient times (such as agroforesty systems). And, how some people (including us) are still using the same low tech methods to great effect today. So, let's dive in with a look at Dead Hedges (aka Benjes or Dry Hedges).
A detail of a Medieval, Labours of the Month, manuscript (March). Harvesting wood from a copse with a billhook. I hope he got a nice cup of tea after this! (image: Trinity College Library, Cambridge)
What's a Dead Hedge?
In short, a Dead Hedge is barrier made with yard waste. It's a way to bundle, weave and twist all of your branches and twigs into a hedge-like structure.
Historically, they were a way to utilize the biomass from cleared land to mark its boundaries. A low cost, low technology way to keep animals and riff-raff out (or in the case of livestock also sometimes in).
It often went hand-in-hand with coppicing. After the copse wood was harvested for building, fuel and crafts (like basketry and furniture making), the waste was gathered to construct a dead hedge that protected the area until the next harvest.
As you can imagine, their construction and visuals varied greatly depending on the material used and regional preferences. Thick and imposing structures might incorporate thorny brambles as a way to say, stay out. While, a simple bundle of twisted twigs or woven willow could provide a visual reminder more akin to, please walk around.
Dead Hedge in Meephill Coppice (2019, image: Graham Hale)
Why You Should Build One
There are so many reasons that dead hedges are great:
To compact and organize biomass with little to no cost
As a Carbon sink (they remove the need to transport and/or burn green waste)
As Wildlife habitat (they keep deadwood in situ, creating safe spaces for fungi, insects and small animals that are key to ecological health)
To help build and connect Green corridors and conservation efforts (in a cost effective and functional way)
As a Biological pest control (establishing habitat away from crops and housing, while encouraging a balanced ecosystem to form)
As they Decompose slowly but leave no trace behind (they use no plastics, metals or other permanent materials)
Because they look beautiful and can be made to match any aesthetic
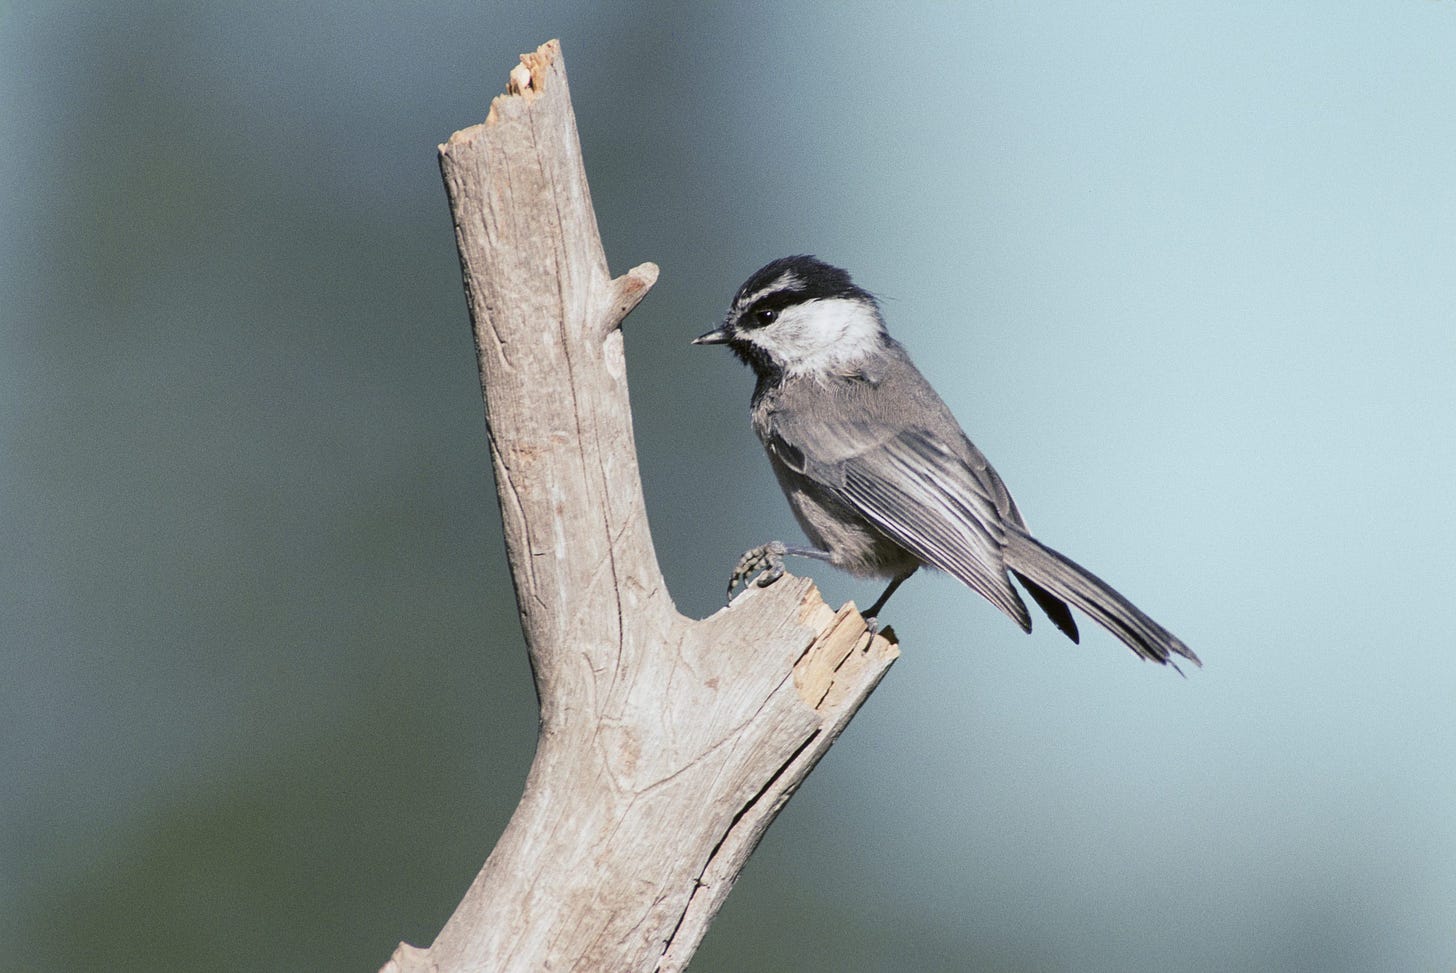
Wildlife, like this Mountain chickadee, love a good bit of dead wood to perch on. (image: Mountain chickadee, David Menke)
How To
Use what you have
This is a great way to use up whatever non-invasive twigs, branches and pruned bits that you have on hand. And, if you can fashion your own stakes or have some hanging around that you can reuse, that's even better.
Materials
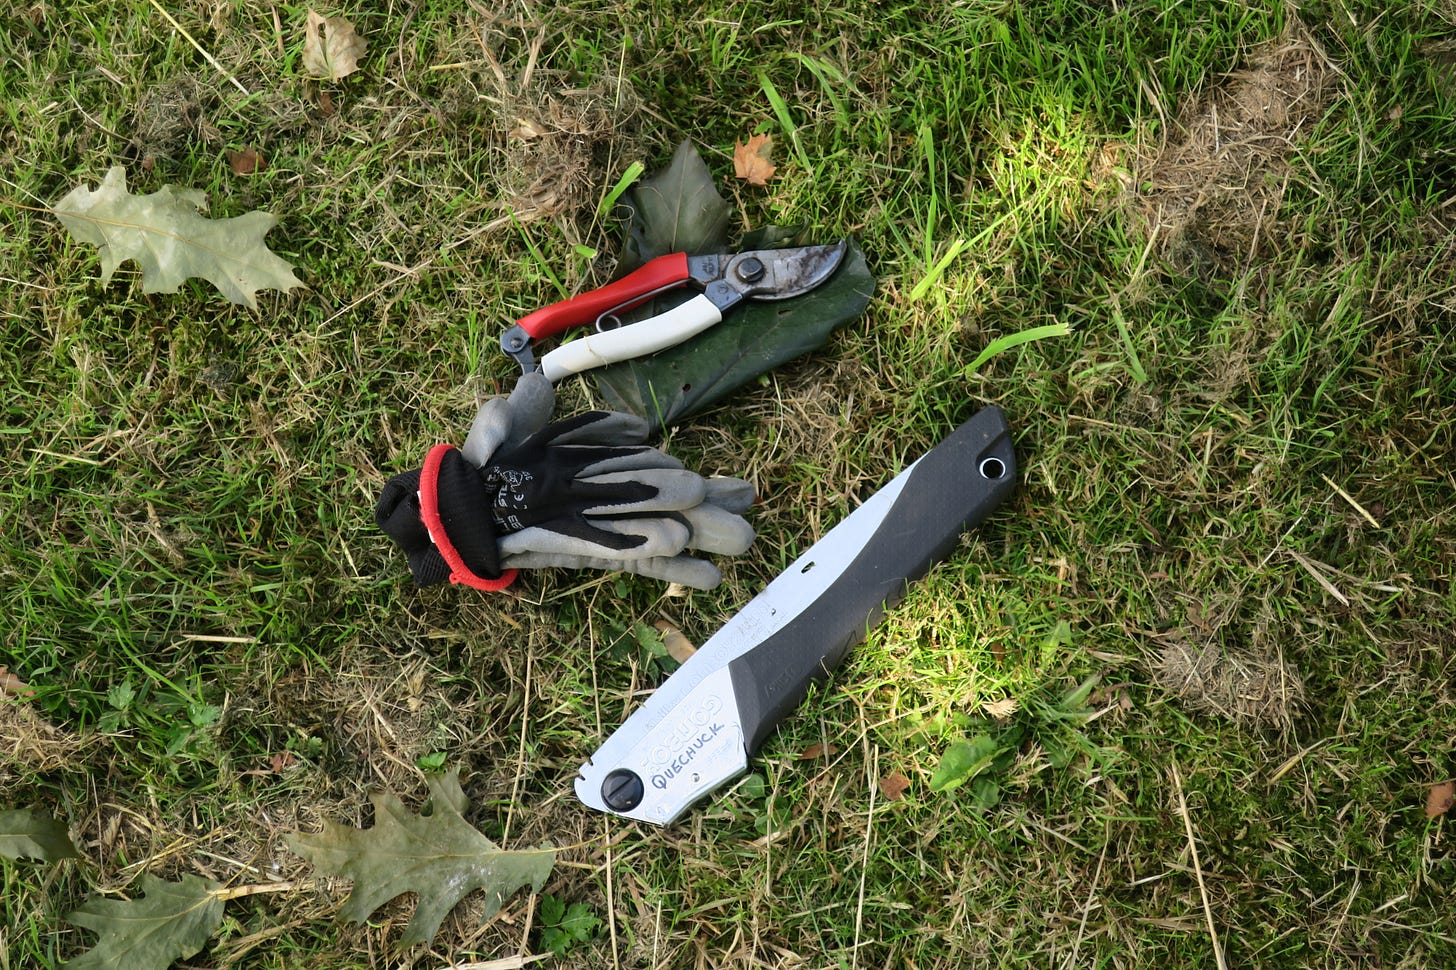
We used some basic tools:
Secateurs or loppers (to trim smaller twigs to size. We used my trusty, Okatsunes)
Hand saw (for larger branches. n this case, a folding Silky Gomboy)
Small sledge hammer (to pound in the stakes)
All of the trimmings were collected on site and we purchased some 1"x 2", 4' long cedar stakes (from our local lumber yard), cutting a point on one end. Lastly, we used a few log pieces that were lying around to tamp down the twigs and hold them in place as we were building.
Tools for dead hedge construction. (image: Virens Studio, 2024)
A small sledge hammer will do (image: Virens Studio, 2024)
Looks
Here's where you can get creative and make your own aesthetic choices. A dead hedge can take many forms from linear and modern to wild and messy. So, put some thought into what size and scale you want to see. The spacing between stakes and the depth, height and form of the material placement before you start.
The site of your dead hedge matters as well. Do you want it to act as a barrier? like a living hedge or a low fence? Perhaps it will follow a property line or mark a separation between areas. Or even, surround a patio or a quiet bench. They're also effective at providing privacy from neighbours, blocking out noise pollution, wind or the hot summer sun. It's all up to you.
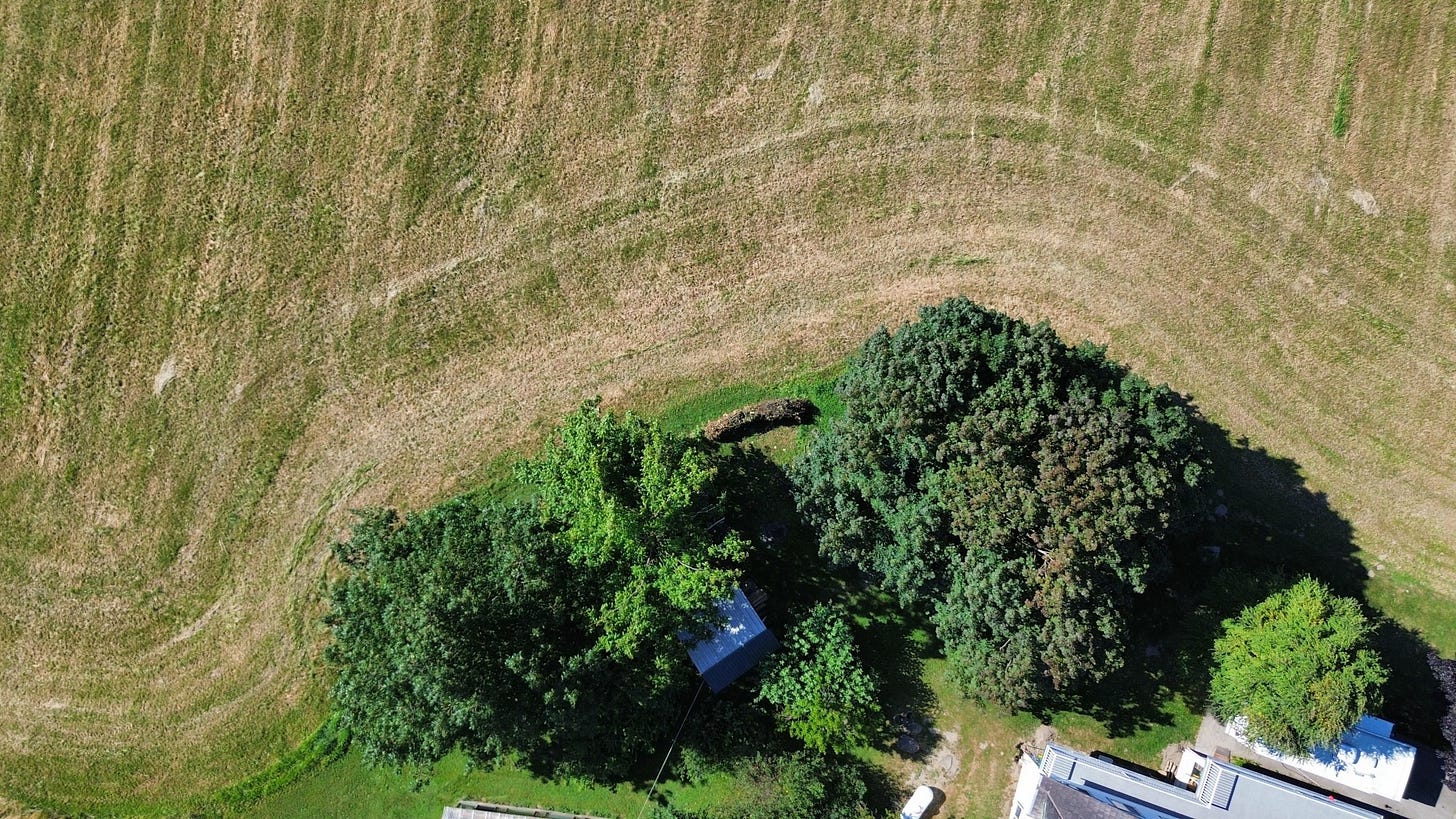
We started our dead hedge in a natural line following the curves between field and yard. (image: Virens Studio, 2024)
For our project, we chose a rustic and free-flowing look, weaving some of the branches out over the stakes to soften the edges. We also knew that we wanted some repetition of materials, hence the cedar stakes. It's a common wood here on Canada's west coast, so we'll always be able to get more in the future as we extend our build (cause let's face it, we will have more trimmings). Plus, it weathers beautifully and smells amazing.
Our Dead hedge is sited between the home and working areas of the farm, tracing the canopy of a large maple, filled with bird-life. A spot for any disturbed wildlife to relocate safely outside the hay fields away from the house.
Some of our stakes went a little off course, but that adds character :) (image: Virens Studio, 2024)
Construction Methods
We started by placing our first six stakes. As we wanted an obvious opening to enter the fields, the initial two were pounded into the soil opposite each other, about 45cm (18") apart, to create one side of a 'doorway'. Then the remaining stakes were added in an alternate pattern, every 60cm (24") or so.
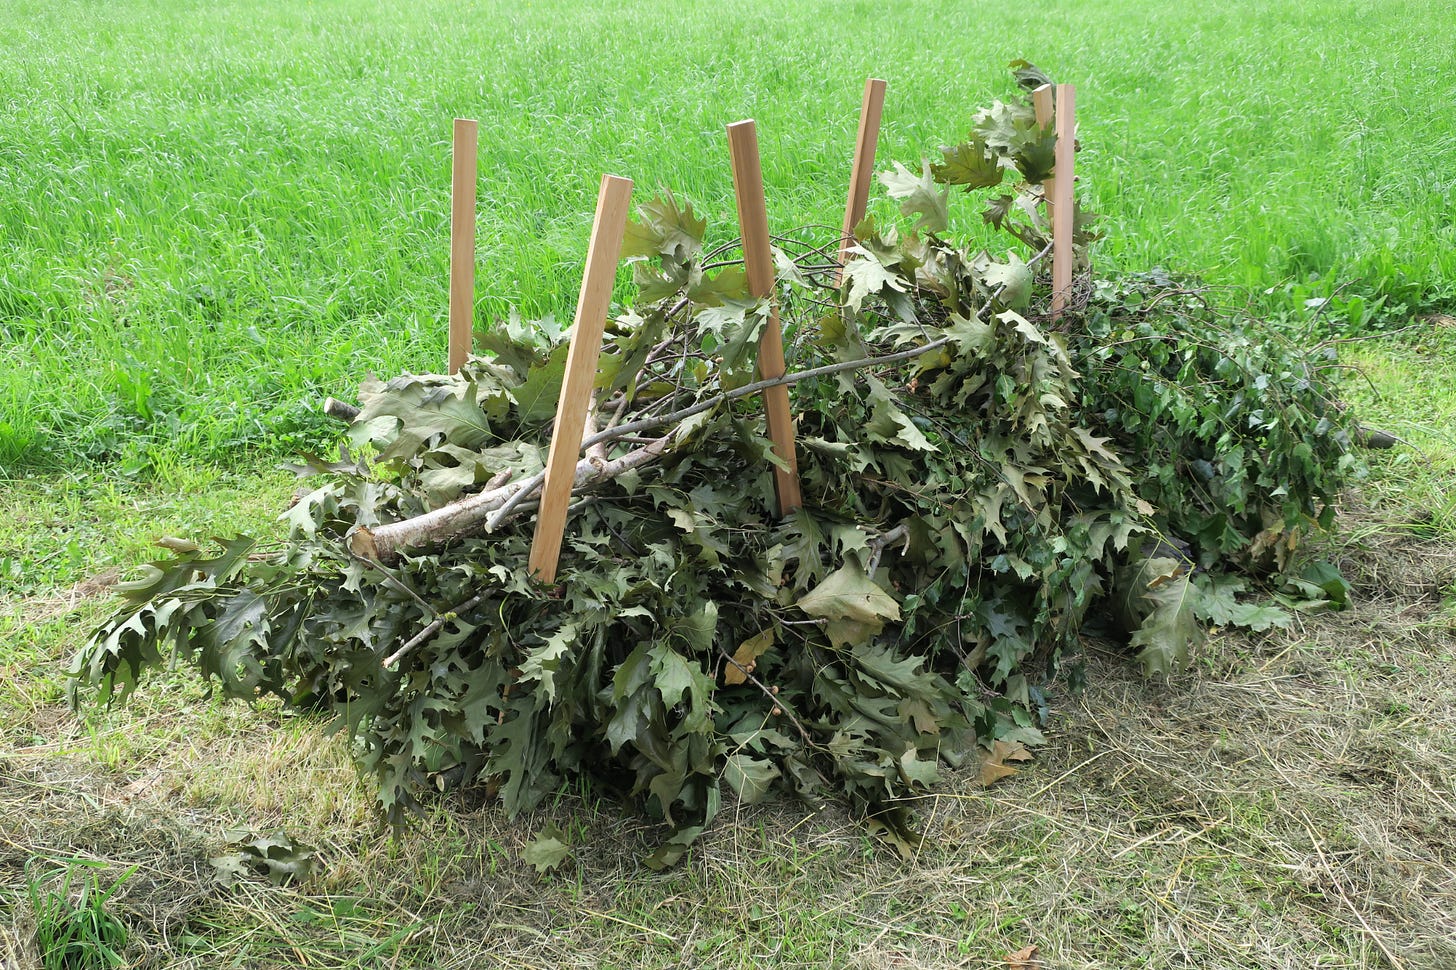
This built a framework for us to start adding our cuttings. The pattern is up to you of course and the kind of material that you've got on hand. We had a variety of sizes to work with, as well as types of wood (from maple and juniper to katsura). So, we started to layer in larger branches as the base and loosely bundling smaller twigs together to fill in the major gaps. Taking some time to weave the pieces around each other, tucking the ends into the center of the dead hedge. We prepared the larger branches by clipping off any smaller twigs, leaving a short tail just beyond the collar to help knit the pile together. The better the connections are between the branches and twiggy bundles, the greater the structural integrity of the dead hedge as a whole.
Our branches had lots of fresh leaves still attached so we used some small logs from a nearby pile to tamp the bundles down, compacting them slightly and holding the ends in place. Picking the logs up and moving them to the top of each course as we added more layers. At the same time, we were purposely leaving some nice pockets and niches for any small wildlife that may choose to take up residence.
Using a few random logs to help hold things in place as we build up and along. (image: Virens Studio, 2024)
It's amazing how much material these structures can eat up. Since our pile was huge, we ended up using 20 or so stakes for this initial section of our dead hedge. Leaving the far end a bit jagged, as we plan on adding on as needed. The open 'doorway' edge was marked with a few logs piled as a visual marker.
A closer look at some of the branches 'locked in' around the stakes, to add strength to the over-all structure. (image: Virens Studio, 2024)
I should also note, that the weight of our material started to bow out the stakes towards the tops slightly as we built upwards. We decided to continue with the 1" x 2" stakes anyhow, with the thought that we could either add extras in sections that may require shoring up in the future or, simply upgrade to 2" x 2" stakes if needed. It may be nice to add some thicker or more unique stakes by our 'doorway' anyhow.
We filled her up and left our dead hedge for a week or so to settle, before we wove a few more twig bundles in to finish it off. (image: Virens Studio, 2024)
The first complete section of our new dead hedge. (image: Virens Studio, 2024)
Inspiration
'The Nest' by Sam Southgate at RHS Wisley (image: RHS Wisley, 2024)
There are so many great images of dead hedges. Here are just a few for inspirational purposes.
A very solid dead hedge (image: Rain Water Run Off, 2021)
A combination of materials (image: Laura Prendergast)
Sinuous (image: Tove Lillelund)
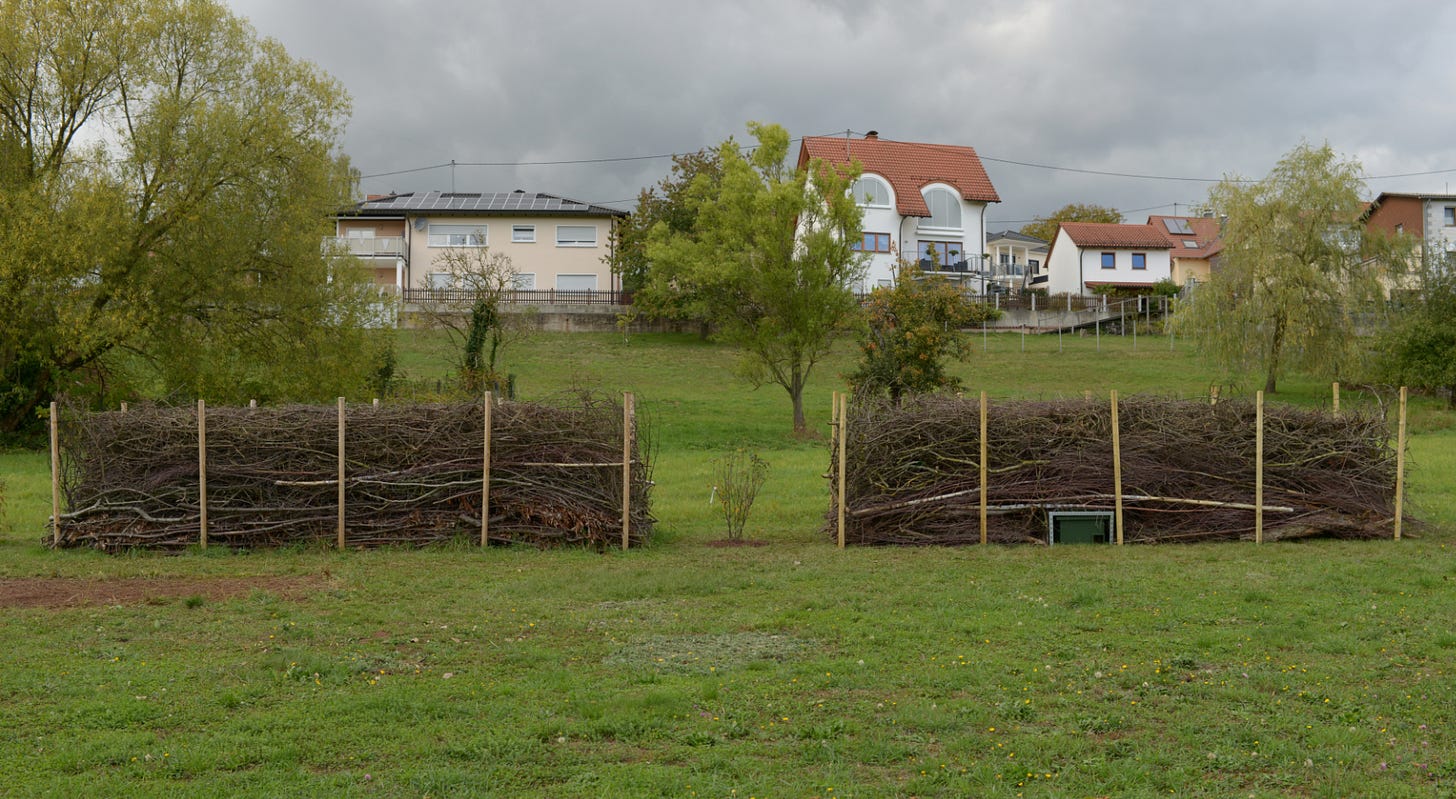
Precise. (image: Benjeshecke Illingen/ Saar, Simon Mannweiler, 2019)
Please, do let us know if you're up try making a dead hedge, already have one or have any comments or suggestions on ours. And, if you're looking to try out that dreamy Woodsman lifestyle, it is still alive and well and beautifully represented on Paul Lamb's instagram feed, @westcountry_hedgelayer
Happy Dead Hedging!
- Sara-Jane @ Virens Studio
Virens is a ecological landscape and planting design studio located in beautiful, British Columbia, Canada. Drop in and say hi on IG. And don't forget to join us on Substack and subscribe for more free posts (Garden Culture by Virens)





This is a fascinating technique, so lovely in its way of repurposing the "waste materials". But I live and garden in a high-wildfire risk region. Any thoughts about the fire hazard or ways of reducing it?
Great job SJ!