


The Sand Garden: A New Experiment Begins
That's right, no gravel here.. only Sand!

I see people slowing down for a good long look at my new garden. And as I clock their movements, in my mind I can hear them saying, "what kind of landscaping is that?, the plants are all soooo small and what's with all the sand?!"
Well, as a planting designer, former parks gardener and an artist, I've alway been a little bit beyond (some might even say, ahead of) the norm, so why should my garden be any different? But, it does have a purpose.
I have long admired the work of Peter Korn, the great Swedish plants person and designer. Whose years of experimentation with mineral substrates and specialized plant material have led him to much success in stewarding many of the most difficult urban greenspaces. The neglected and forgotten spots that most of us had thought were impossible to keep alive. From dry isolated road verges and medians to wind blown, dusty roofs and vertical surfaces. Not to mention the use of sand beds to grow spectacular plant material, adapted to rugged conditions, all without the need for plastic nursery pots. In fact, there are many photos of thousands of plants, neatly pulled from the sandy soil, packed in carrier bags and gently piled in the back of a car (just checkout his IG).
But I digress, here I am, with a very frugal budget, on the other side of the planet from Mr. Korn's Swedish homeland, building my very own Sand Garden. Asking the questions, can this work here? with plants suited to our western Canadian climate and conditions? And ultimately, can the unique beauty of these gardens be used to inspire my own local municipalities to let planting designers like me, try these techniques in our urban spaces? It's all part of the greater plan to change the way that we see and value our greenspaces (not to mention our gardeners and designers). So, let's dive in!
Why Sand?
It's usually the first question that I get. Well, there is a point where soils can be too rich. Where the nutrient levels are so high that they reach a critical threshold and are no longer healthy for plants. This point is variable depending on a lot of factors (climate, individual plant needs and local conditions are just a few). For those of us following a right-plant-right-place philosophy, since we're using plant material adapted to naturally dry and desolate conditions, our substrate needs to match. So, while you may think that adding manure, compost or other organic matter makes a 'good' soil, that's not the case in this situation.
Sand, is a lean substrate, it's mineral rich with great drainage but the plants have to work a little harder to get fed. Their roots will naturally stretch deep into the soil, searching for water and food. As they do this, they'll also make contact with the roots of other nearby plants, mycelia and a whole variety of additional soil micro-organisms. Effectively, they will join a community, where they can trade information and supplies with others while helping one another to survive. These will be resilient plants with the ability to adapt and overcome challenging climate events and disturbances.
There's a great analogy that Peter uses. Think of the beach on a hot summers day. The surface of the sand may burn your feet, but if you dig your toes in just a little, you'll find a deep cool layer that offers respite. Not only a great thing for your skin, but also for our plants.
The Idea
The concept was simple. What we're hoping to create, is a beautiful functional garden that is also an experimental space. One where we can test ideas and also invite others in, to witness what is possible here. To see that this not only thrives (with little human intervention) but also looks beautiful and is full of life. Perhaps, this space can be a tool? That can help to convince municipalities to let us build similar plantings in our cities. To fill all of those forgotten spots that are currently exposed dirt, concrete and under utilized turf grass, with life. And simultaneously, to transition and save many of the existing conventional garden spaces that are slowly yet surely being removed due to budget concerns. Increasing the monetary, habitat and therapeutic value of these areas, without using more resources.
So, in this project we intend to create one cohesive linear garden that is divided into three sections, each transitioning into the other. Each with it's own unique feeling, plant material and level of care with some elements that create a sense of unity. A chance to try as many experiments as possible, while still being seen as a "garden" space.

Plans
In our modest beds, the plan is pretty uncomplicated. Without breaking the budget, we would work to remove the majority of the existing plant material along with anything that wasn’t organic (ie the plastic sheeting). All the while, trying to cause minimal disturbance to the soil structure (trying not to activate weed seeds or kill off the all-important soil micro organisms).
Next, to add some structure where needed and back fill with sand in the manner of Mr. Korn. Who luckily for us, is a very generous soul and shares many of the specifics of his findings through his book (Giving Plants What They Want) as well as online.
Stage 3 was sourcing a variety of new plants that we could trial for future projects and municipal situations.
Then of course comes, planting and ultimately, the long-term care/ stewardship of the beds as a part of the greater landscape.
This is why we chose a site that was easily accessible, in need of intervention and of an appropriate size (one that was large enough but not too large for one or two people to realistically handle). This ended up being a strip of land that sits between a driveway and a raised dike structure that connects to a larger more open space.
We did our usual site assessments and research (soil tests, local histories, GIS mapping, observations of hydrology and existing vegetation and wildlife, as well as what materials are available locally etc). basically, we gathered every bit of information that we could and used it to inform our design.

Prep
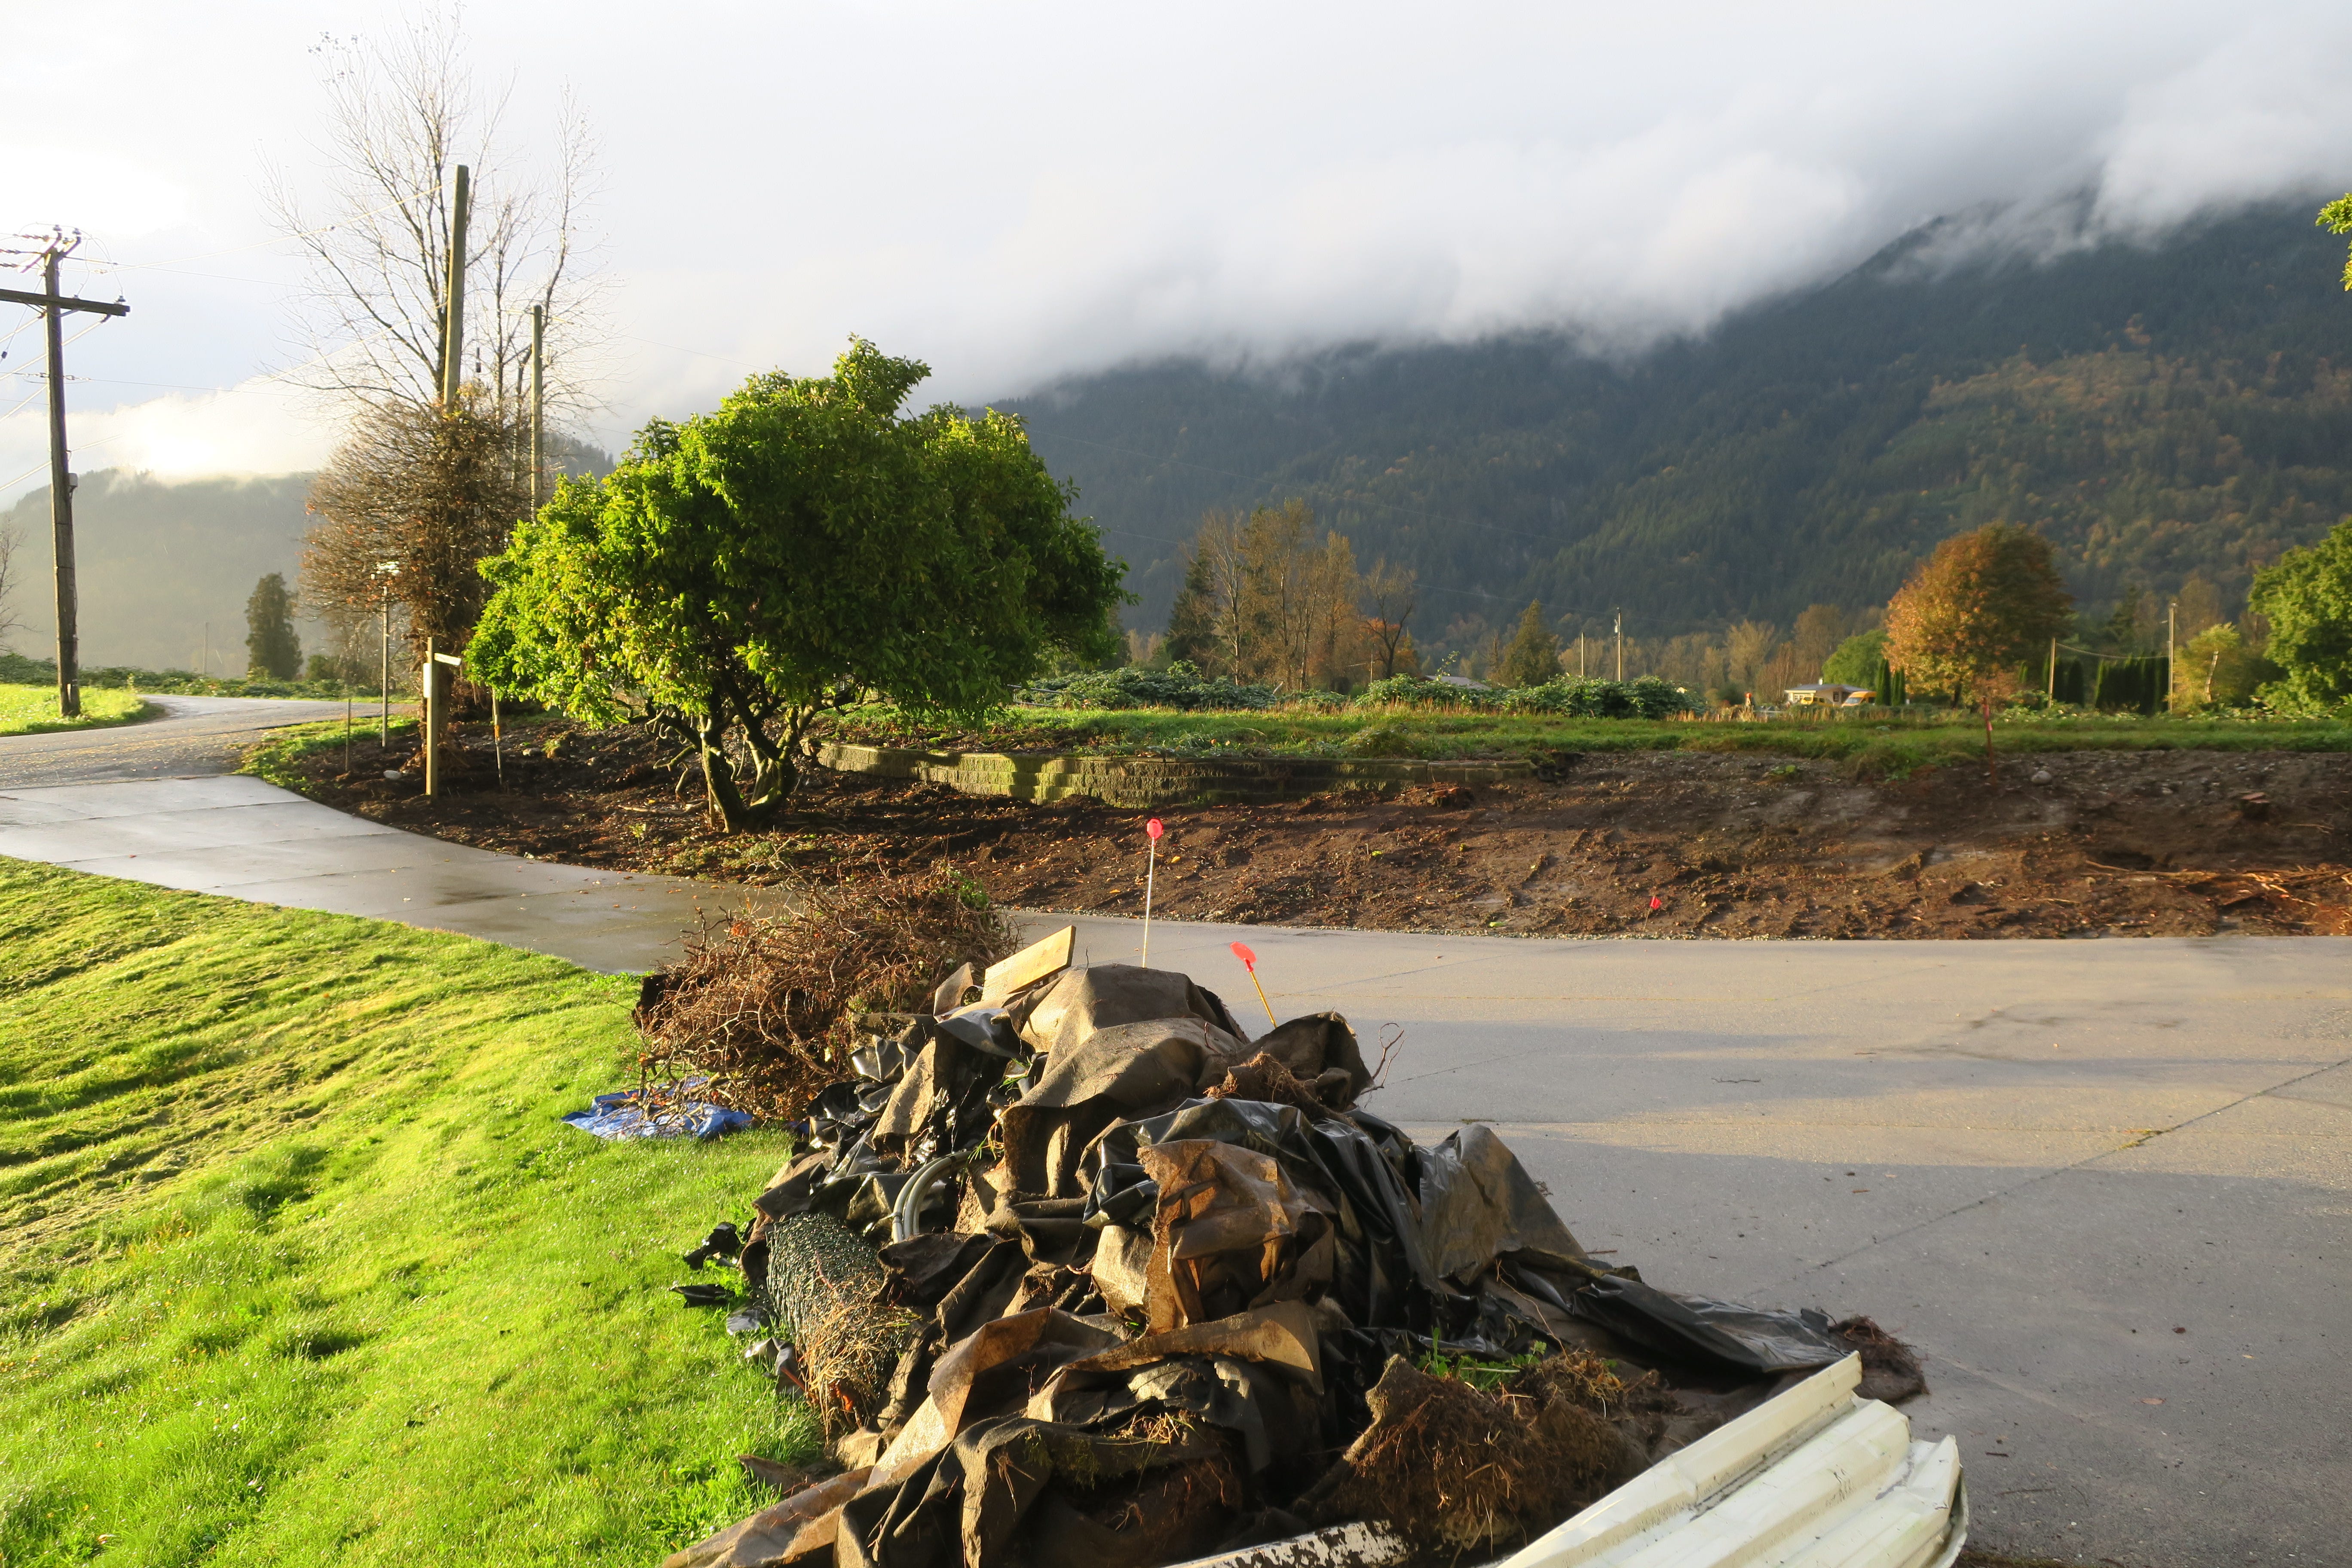
The longest step by far, was clearing the heaps of overgrown shrub material that had once been planted, but now completely colonized the space. We chose to take our time (a bit of a luxury) and prune out the branches in a methodical way. Always being careful to separate out the invasive materials (English ivy and Himalayan blackberry) and dispose of them in the appropriate manner. The offcuts, branches and twigs were then incorporated into several deadhedges constructed around the property.
As the branches cleared and the soil became visible, we dug out any perennials (either putting them in the compost or relocating them elsewhere). Any stumps were cut close to the ground or pulled out if there were mostly surface roots.
And then the real nightmare of removing the weed barrier from the soil surface started. In some places we found up to seven layers of various plastic sheeting and fabric. Perhaps the previous owner had added a new layer as each subsequent one had failed? Creating this lasagna of inorganic materials with layers of root sandwiched in between. This led to much questioning. But, it is important to note that when you're working with living materials, there is only so much that you can take on at any one given time, so do what you can, when and how you can. There are always deadlines for ordering, planting and seeding (not to mention nesting seasons and migrations) that must be considered.
In the end, removal of every bit of weed barrier was clearly impossible. So, some sections were left under the mature trees where the roots where too entangled (and we had already disturbed the surface roots quite a bit). These areas will continued to be monitored and hopefully remediated in the future.


Structure
Our next step was to to add a small retaining wall where the topography follows the slope of the dike. There was a short piece of existing block wall, tucked up into the back of one of the trees, but we needed something more. And, it needed to be practical and inexpensive, readily available and organic.
In the end, we decided to use a combination of coconut coir and straw logs. These are usually found in construction zones, along highways or in reclamation projects (where aesthetics are less of a priority). But the thought here was, why not try them? They tick every box and although they may not be considered beautiful, perhaps they could be made so, with a little creativity?
The original intention was for only the larger and sturdier coconut coir to make up our wall. But as always, needs must and due to a lack of availability, we ended up with three coir logs and several smaller and shorter-lived straw logs (the type that usually sit around drains as a debris trap). These I was assured, use a biodegradable netting (but I’ll keep you posted on how that goes). After picking them up in my small car (they come coiled and are quite light in weight), installation was completed easily in a few hours with the help of some wooden survey stakes.

For the lawn patch, we started out with the removal of several bordering (ball-shaped) shrubs and perennials. We had then intended to leave the turf in situ and simply cover it in sand (after a close cutting of the grass). However, as a level transition between the existing concrete and our new patio space was a priority, we did remove it. This was both great (the initial removal was fast) and exhausting (as we then had to do something with the added debris). Additionally there was a rather unexpected surprise, the turf contained a layer of plastic netting. Something that was added at the turf farm to help hold the rolls together during harvest and transportation. So, as we removed and relocated chunks of the turf, we also pulled out the plastic. Eventually we got to a point where the topography of the space was more functional. With a smooth walking surface where needed and some relocated turf swales that will allow stormwater to move to lower ground (away from the garden) while holding the sand in place.

Sand
Next came lots of ordering. Bulbs before the June deadline (even though they wouldn’t be planted until fall) and of course, the sand.
Luckily, we are situated on an island in a large river basin, so we are surrounded by gravel and sand quarries. After a little investigation, we found a local pit that could offer us two types of sand within a seven minute drive of the site.
It was decided to use “washed” or “bank sand” for the driveway and half of the larger space. This type is, as it comes out of the ground (directly from the banks along the ancient riverbed) with a range of particle sizes from zero to 7mm. It's also inexpensive here, as it's not altered in any way (screened) unlike the kind that's typically used in construction. Next we decided on “concrete” sand (0.075-5mm) that's more uniform and more expensive but also readily available in most urban areas. This would make up the rest of the space along with a small slice where the two materials meet up, which is a mix of the two (giving us three types altogether for the sake of comparison).
The sand was all laid in a 30cm thick layer where possible with less along the edges (and any spots where 30cm couldn’t be accommodated).

Planting Plans
All this time, we had been simultaneously designing and creating plans for the project. The space would be both functional and simple, providing as much diversity as possible. Encouraging wildlife and human activity while experimenting with a variety of prairie, steppe, mediterranean and native plant species.
A comprehensive plant list was decided on, taking into consideration C-S-R values, ecosystems and possible plant communities (and of course availability in our area). Plus, the visual rhythm and feeling that we wanted to create. Most of these were ordered in the fall as plugs and bare root plants (to be planted in the spring). Another economical and practical choice.
Using some simple yet effective hardscape for visual and functional structure, a patio area was created with a base of crusher dust (the leftover material from crushed gravel products) which was tamped for a stable walking surface.
A nordic style raised walkway was built from western red cedar planks and 4x4s in modular and movable pieces. With the intention to invite the viewer further into the naturalistic planting, without disturbing it. While also providing visual structure and physical access to the dike beyond the beds. A temporary water dish (shallow enough for insects as well as other critters) was added, to be updated later with something more sculptural.
And finally, some raised containers were installed. A large round corten steel planter to focus attention and direct guests towards the visitor parking area and building entrance. Two more rectangular containers were made up using salvaged wood and cedar shingles from around the farm. These are perfect for veg and edible crops, mini wind breaks and added character. And finally, a rusty old feed drum was cut into two pieces for berries and climbers. All of which were carefully placed on the crusher dust patio.

Go Time
The last of the prep and hardscape work was finished in late winter, with the sand all in place by March (an order of bulbs having been received and planted in the completed sections in late fall).
Our plugs, summer-flowering bulbs and bare root all arrived in early spring. Since we still had a chance of frost, the plugs were potted up and put in a protected spot. While the hardiest bare roots were planted out (since indoor space was limited).
When there was a patch of good weather (not super hot, no frost and not pouring rain), we set out the plant material and got to it. Of course, we had our set planting plan but we did also make some alterations as we went. I really do enjoy the research, thought and science that goes into a good planting design but I also believe in keeping an open mind towards a few freeform alterations. It's a bit like spending many hours learning a new song and then letting all of it go and trusting in your knowledge during a live performance. Plus in any living planting, things are rarely set in stone, they will always be altered and adjusted over time anyway. So remember to take a bit of time to enjoy what you’re doing, don’t rush through this part, it's one of the best bits.
I should note that we deliberately chose a diverse selection of plant material. A hardy tough ecosystem for the driveway. A transitional space filled with natives. And finally, for the large more open bed, an area stacked with grasses and softer perennials. All meant to work together, with a few common elements to add cohesion overall. And, of course using design elements that would frame the views, provide privacy and create maximum movement (this is a river valley that almost always features a breeze, so movement is key).
Planting
Planting in the sand is a really enjoyable experience. It’s so easy to dig into that I actually dropped my hori-hori and used my hands for most of it. With a quick check of each plant, knocking all of excess soil off the roots, it was a fast process. Especially in comparison to the often compacted and heavier soils that we usually encounter. Within a few short hours, the hard graft was over.
After the base planting was complete, we did some direct sowing of annuals and also added our winter sown material. Which included some harder to find perennials that I had sown back in January (in reused plastic milk jugs) and then set in a protected dappled spot up under our huge maple tree. This is a great way to get lots of small seedlings with very little resources or work involved.

Grow
Although we would have prefered to plant in fall (when plants are bigger and easier to establish with less need for irrigation and care) that’s not always possible. So for this spring planted sand garden (using smaller plugs and bare root) we’ll check it often and give the plants some regular water to get them started, gradually easing off as they get better established through the growing season.

Care
If you’ve been reading our articles all along, you’ll know that we prefer a less-is-more maintenance style. With measured disturbance and an eye towards the big picture. Slotting ourselves into the role that a keystone species (for instance, a beaver, or a goat) would take in a natural ecosystem. Providing assistance where needed, but really trying to stay out of the way and not get too caught up in what’s neat or tidy (you can read more here..).
In the first few weeks, I've kept it low key, using a diamond headed hoe to top the few invasive weeds that have popped up (in the areas with a thinner layer of sand, the 30cm depth definitely works best so far).
I did encounter some pulling out of the bare root by the crows. So, I made sure to check and replant any rogue removals until they stopped happening. There was also a little localized nibbling by the resident bunnies but luckily there is a lot of material in this area and they seem to have found more tasty plants nearby.
I have irrigated with a raised telescoping sprinkler that's easily set into the sand where needed. I should also note that I always check the sand by disturbing the dry top layer to see if it is still damp and cool underneath. That way I only water when the sand is actually dry (which is less than you might think).
Otherwise, I am attempting to be patient, observe and wait for the plants to do their thing. And although there may not be tons of vegetative growth on top just yet, I do trust that they are stretching out those roots and knitting together as a larger more resilient community, just below the surface.

TIL (Things I Learned)
Things rarely (in fact never) go straight to plan, so here a few things that I will tuck away for future projects.
to pot up and grow on the plugs and bareroot (larger material equals less care, water and the need for protection from animal life and vandalism)
to plant out in fall if possible (larger plant size, faster establishment and less water usage)
to stick with coir logs rather than hay (to avoid the hay sprouting seedlings and dealing with it's "biodegradable" netting)
to expect some tough weeds to still push through the sand (horsetail, buttercup)
not to be afraid of going deep with the sand where it's less than 30cm
that removing turf was a nightmare. next time I would cut the grass very short and go deep with the sand. It may also be worth trying a layer of cardboard (between the grass and sand) in future where 30cm isn't possible to smother any unwanted material

Thank you for reading and supporting our articles, hopefully you've gotten a few new ideas. Stay tuned for more as I'll be adding updates as we get further into our Sand Garden project as well as some others, including our brand new Hedgecraft Willow coppice.
-Sara-Jane at Virens Studio
Virens is a Western Canadian design Studio that specializes in Ecological landscaping and Planting design. Get in touch today for a consultation on your next green project! Don't forget to join us on IG (Virens, Hedgecraft) and at Hedgecraft Willow as well.
Fascinating post thank you. I have been experimenting with sand for a while - well, dating back to research days when I was establishing a vegetation cover in quarries where the only rooting material was a fine quarry sand. I have been using it ever since. There was a sand dune garden at Chelsea this year by Nigel Dunnett and the Beth Chatto Gardens have planted out front gardens in sand, so slowly the idea is catching on .... I think sand-grown plants are far more climate resilient.
What an amazing transformation! You certainly have been busy. Great job! Looking forward to reading more on the space. Keep up the good work 👏👏👏